
MEE Professional
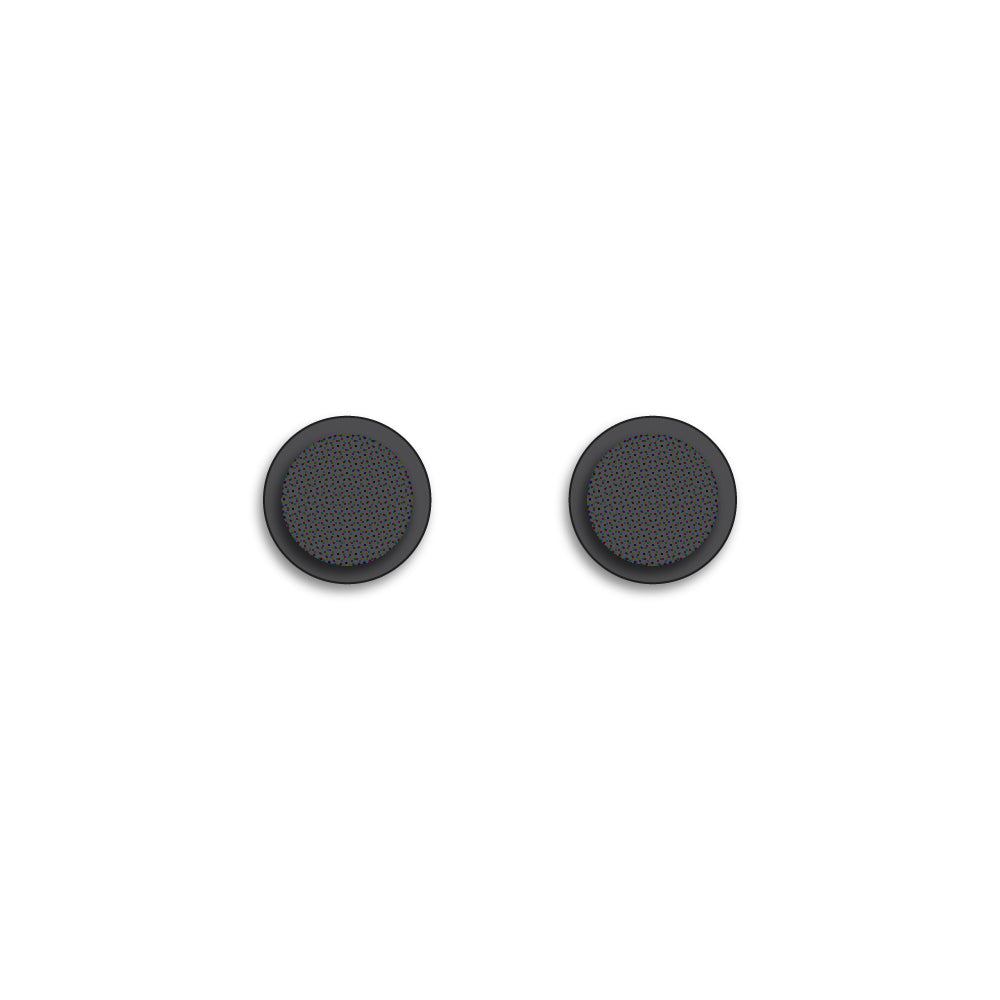
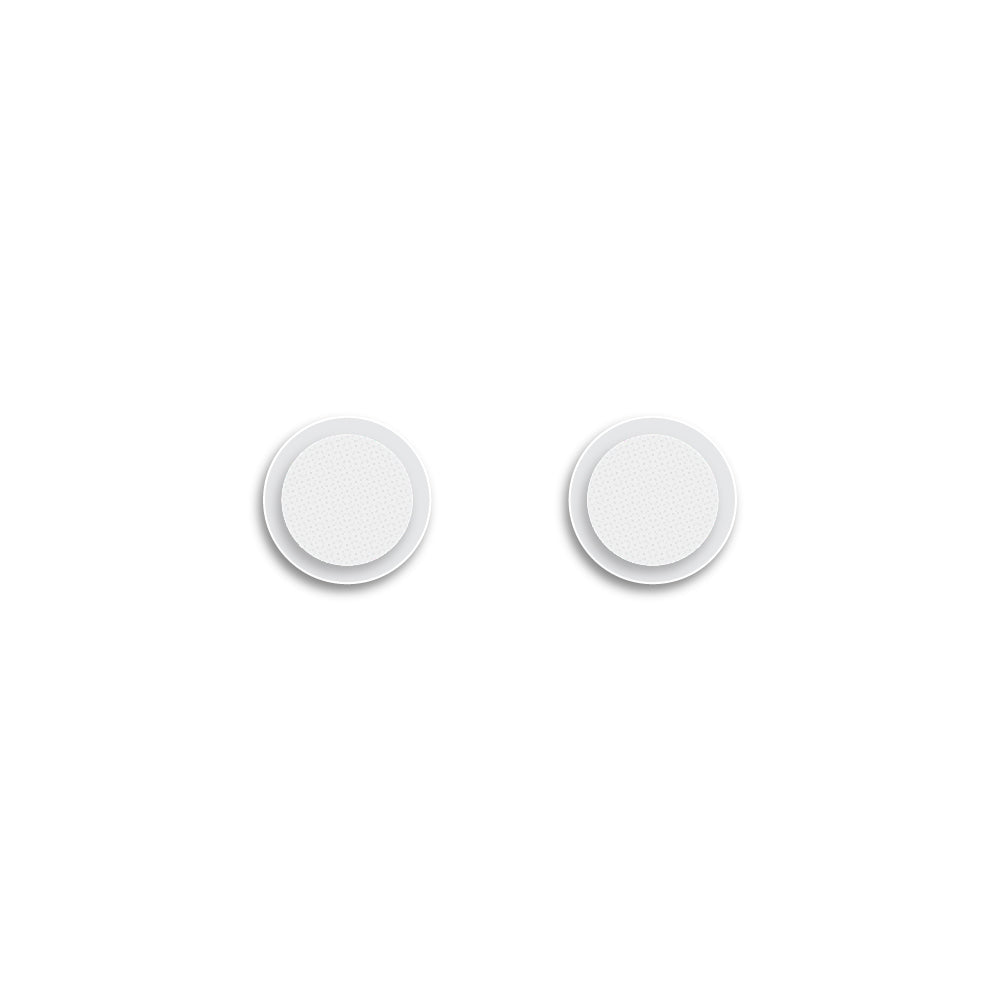
Replacement Nozzle Filters for MX PRO Series and M6 PRO In-Ear Monitors (Pair)
Original replacement filters for MEE audio in-ear monitors. Earwax filters protect the nozzles of your monitors from earwax, skin oils, and debris.
Available for MEE audio MX PRO series (MX1 PRO, MX2 PRO, MX3 PRO, MX4 PRO) and M6 PRO in-ear monitors. Select your in-ear monitor model and desired filter color at checkout. See below for installation instuctions
Pairs well with
Couldn't load pickup availability
Pickup available at MEE audio Warehouse
We'll email you when your order is readyFeatures
What are earwax filters?
Earwax filters, also sometimes called wax screens or wax guards, are mesh guards that fit at the opening of the nozzle and protect the sound channels of your in-ear monitors from earwax and other debris.
Over time, earwax and skin oils can build up on the filters and cause the sound to become lower or even be blocked completely. We recommend cleaning your filters (and ears!) often to prevent earwax buildup, but in some cases replacing the filters may be the best way to restore your monitors’ performance.
Why are the filters different for each model?
Using different thickness filters can affect the audio performance of your monitors. When ordering replacements, be sure to select your exact in-ear monitor model from the dropdown menu to maintain the original audio specifications.
Do colors matter?
No, the filters intended for the same model (e.g. MX1 PRO) are identical in thickness between the two colors, so filter color is a matter of preference.
Instructions for changing your filters:
- Remove original filters. They have a sticky backing and can be removed with tweezers or with any thin object such as a toothpick or the end of a paperclip
- Check that the audio volume is restored once used filters are removed


- Wipe the nozzle with a q-tip damp with hydrogen peroxide or rubbing alcohol to clean it and allow to dry, being careful not to allow any liquid to drip into the earphone housing


- Peel new filters off of their protective backing and place them over the nozzle opening. Tweezers may be helpful with this step. If tweezers are not available, place the filters over the nozzles with your hands and use a toothpick or similar object to ensure even adhesion around the edges.
- Keep your new filters clean by rubbing them down with a peroxide-dampened q-tip, or use our cleaning tool.


Reviews
Use this text to answer questions in as much detail as possible for your customers.
If you have any questions, you are always welcome to contact us. We'll get back to you as soon as possible, within 24 hours on weekdays.
Shipping Information
Use this text to answer questions in as much detail as possible for your customers.
Customer Support
Use this text to answer questions in as much detail as possible for your customers.
FAQ’s
Use this text to answer questions in as much detail as possible for your customers.
Contact Us
Use this text to answer questions in as much detail as possible for your customers.